


Before we get into the steps to migrate, I want to let you know why I chose Azure DevOps. To be honest, I really don’t think it matters what service you use, as long as you use SOMETHING. Most online repos accomplish the same basic things: allow you to store code, collaborate with others, and make your code universally accessible to other systems. For me, Azure DevOps brought some unique capabilities I wanted to take of advantage of. Here’s what Azure DevOps provides:
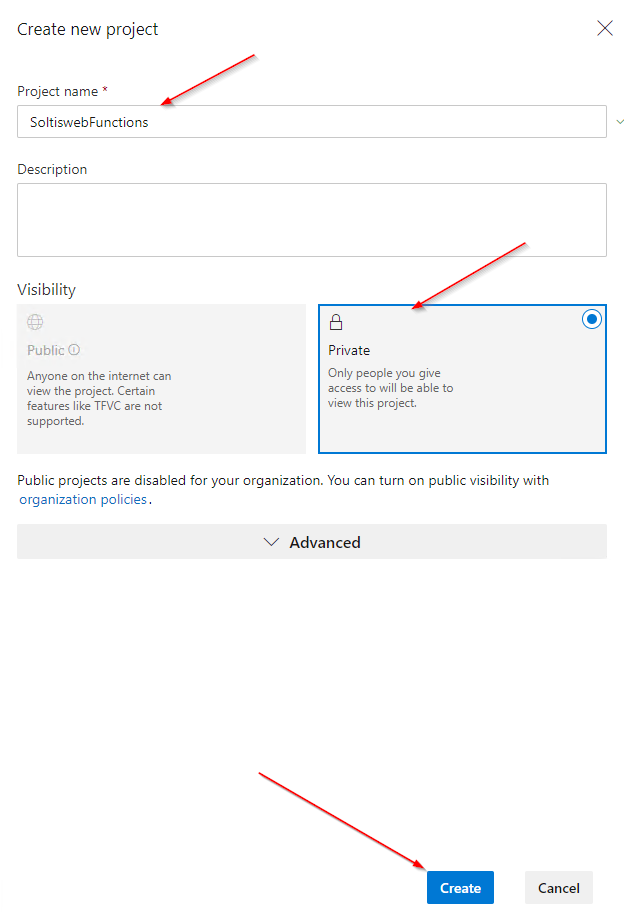
The process of migrating from Bitbucket to Azure DevOps starts with creating your Azure DevOps account. After you sign up for DevOps and create your organization, click the + Create project link and enter your project details.
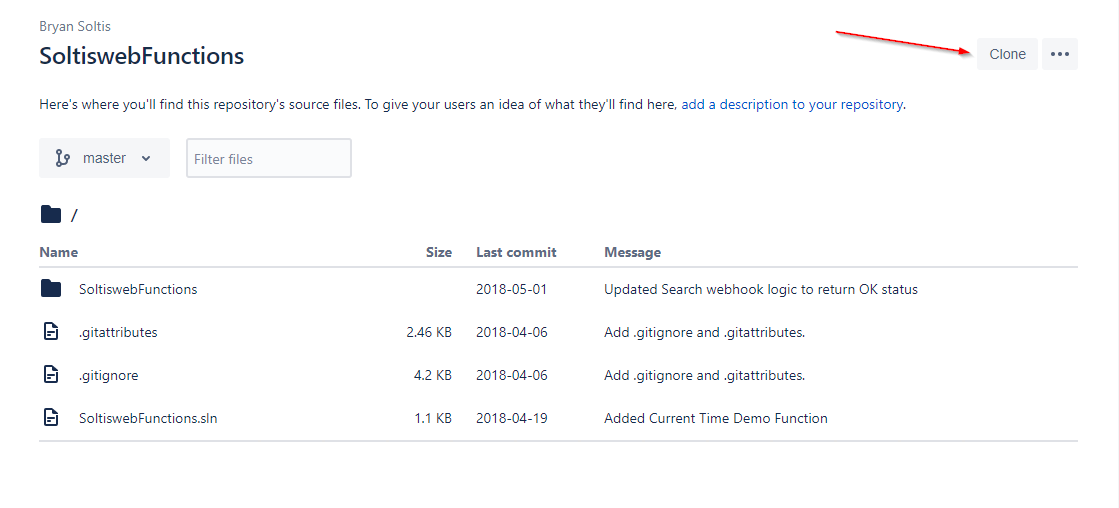
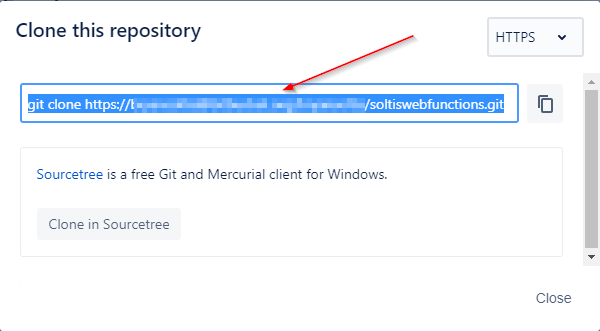
After the project is created, you will want to import your Bitbucket repository. In Bitbucket, click the Clone link in your repository.
In the Clone this repository modal, copy the URL for the repo. Note that the text also contains Git commands. This would be used if you were cloning the repository using Command Line or other utility. In this tutorial, we only need the URL.
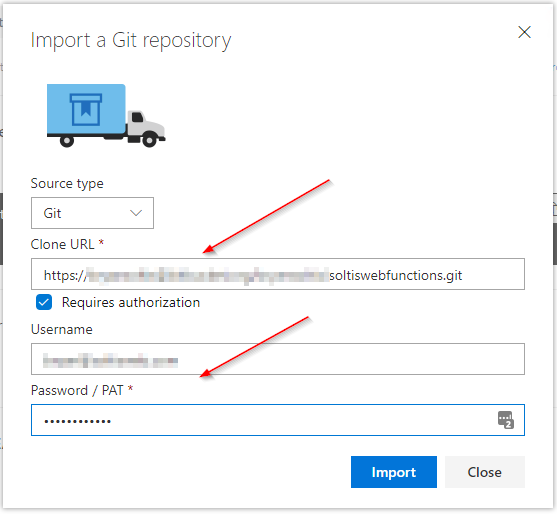
With the URL copied, jump back to DevOps and navigate to Repos/Files. Scroll down and click the Import link to import the repository.
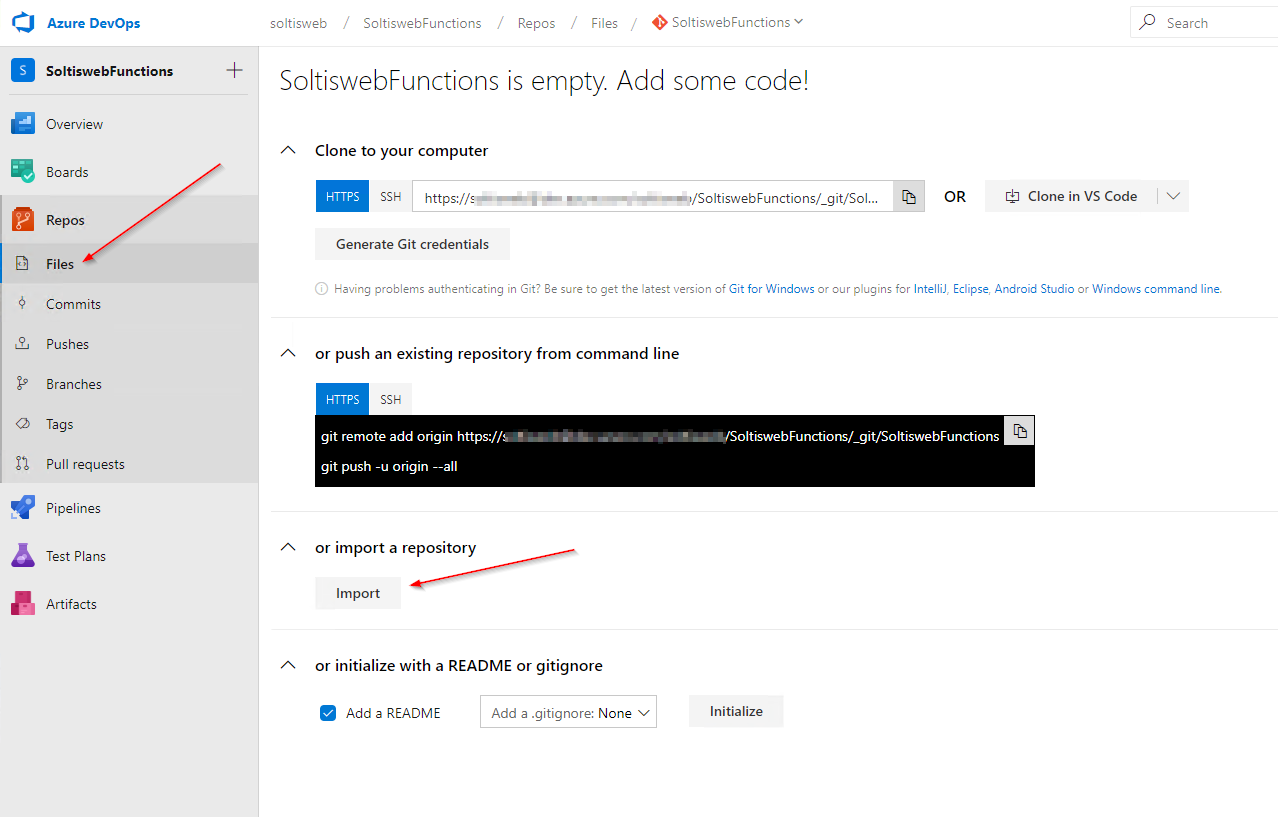
Enter the Clone URL and your username/password (assuming your Bitbucket repo is private).
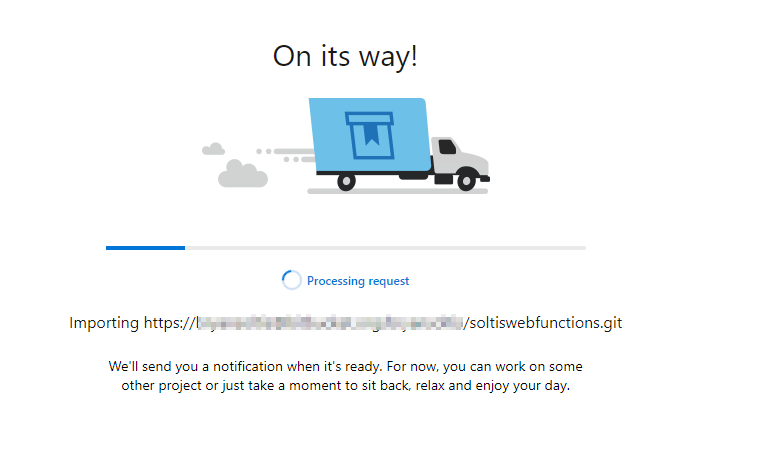
You will see the following screen as the repository is imported. This may take a few minutes, depending on the size/history of your repository.
Once completed, you will see your Repo files displayed.
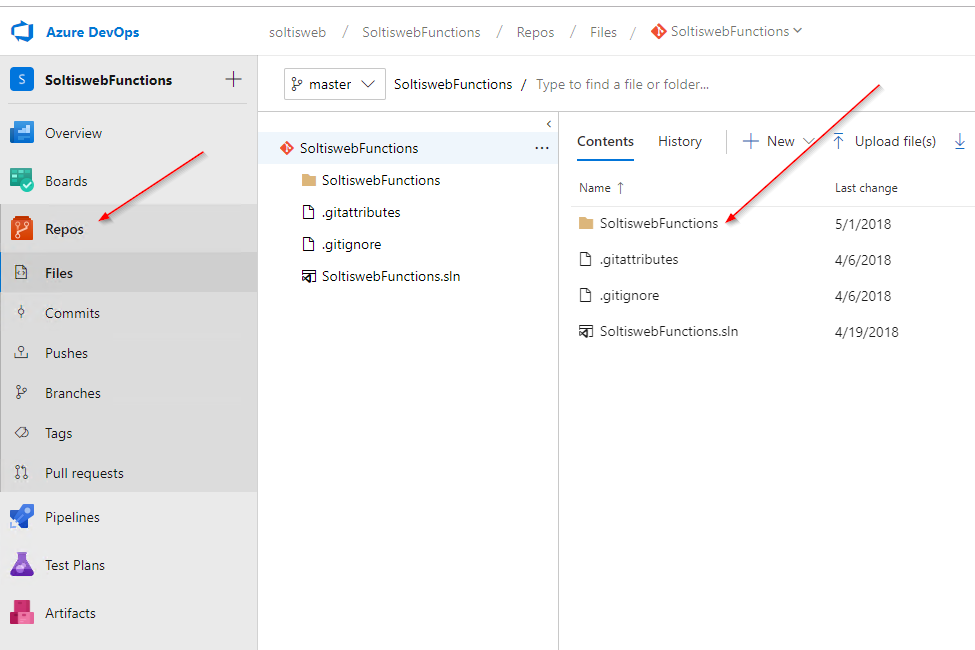
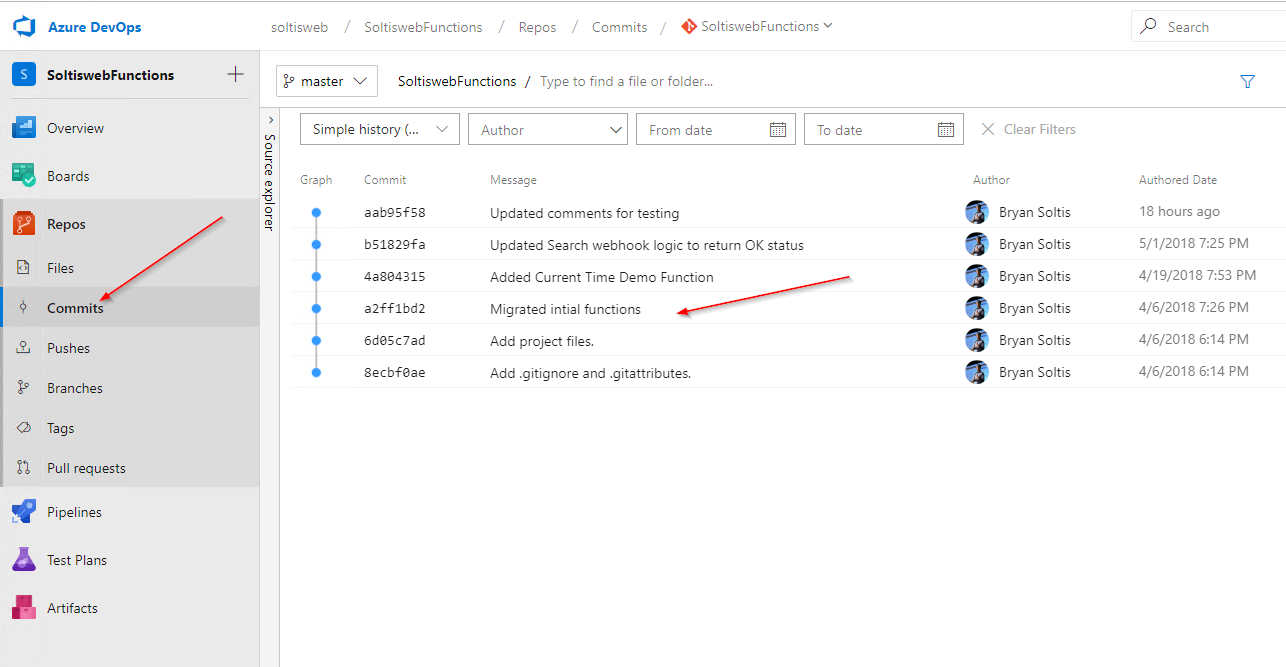
What’s extra awesome is the migration not only brings the files, but all branches in your repository. This means you will see a full record of all commits and branches within your code.
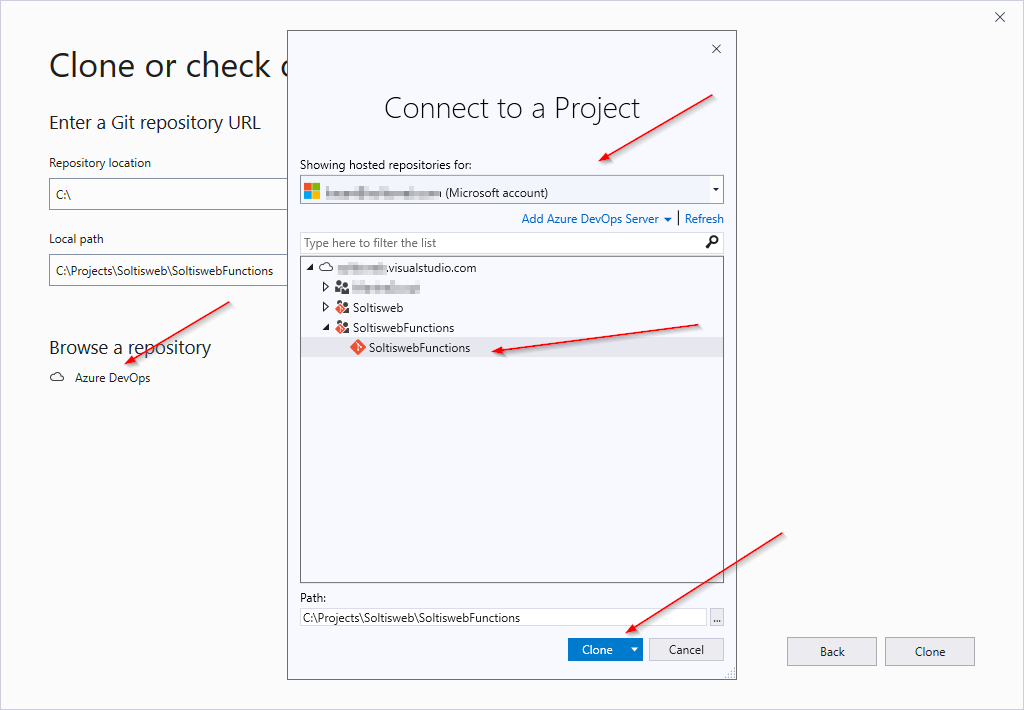
Once your repository is migrated, you can open the project in Visual Studio. With VS 2019, you can do this from the start screen and save yourself some clicks. Select the Clone or check out code option.

Click Browse a repository/Azure DevOps and select your new DevOps project. You may need to sign in and browse down to your project.
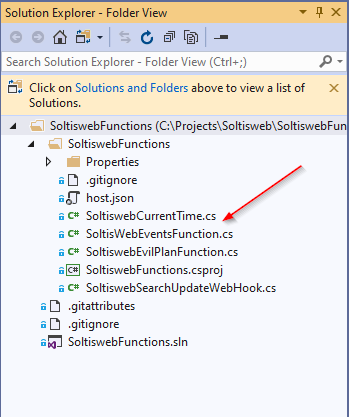
Once loaded, you’ll see your code in the Solution Explorer in the IDE. You're now ready to start coding away and using Azure DevOps for your project.
Migrating from Bitbucket to Azure DevOps is a quick and easy process. Once your code is in DevOps, you’ll have access to all the powerful services Azure has to offer. Give it a shot and you'll be amazed at how much you can automate your processes and simplify your development. Good luck!